nginxにとあるサードパーティー製のモジュールを追加して使う場面があり、nginxの場合ビルド時にそのモジュールを組み込む必要があるらしく、ソースコードからコンパイルしてインストールした時の方法をメモ。
環境
- Vagrant 2.2.10
- VirtualBox 6.1.14 r140239 (Qt5.6.3)
- CentOS 7.1.1503
Vagrantを使用して仮想マシンの作成
今回は以下のboxを使用します。
CentOS 7 x64 (Minimal, Shrinked, Guest Additions 4.3.26) (Monthly updates)
 boxの追加
$ vagrant box add centos7.1 https://github.com/holms/vagrant-centos7-box/releases/download/7.1.1503.001/CentOS-7.1.1503-x86_64-netboot.box
boxが追加されているか確認
$ vagrant box list
centos7.1          (virtualbox, 0)
初期化を行いVagrantファイルを作成
$ vagrant init centos7.1
生成されたVagratnfileを以下のように記述
ホストから仮想マシンにアクセスできるようにIPアドレスの設定を行います。
# -*- mode: ruby -*-
# vi: set ft=ruby :

Vagrant.configure("2") do |config|
  config.vm.box = "centos7.1"
  config.vm.network "private_network", ip: "192.168.33.10" # コメントアウトを外す
end
vagrant upコマンドを実行し仮想マシンを起動
$ vagrant up
Bringing machine 'default' up with 'virtualbox' provider...
==> default: Importing base box 'centos7.1'...
==> default: Matching MAC address for NAT networking...
==> default: Setting the name of the VM: compile-nginx-from-source-example_default_1604539606444_32114
==> default: Clearing any previously set forwarded ports...
==> default: Clearing any previously set network interfaces...
==> default: Preparing network interfaces based on configuration...
    default: Adapter 1: nat
    default: Adapter 2: hostonly
==> default: Forwarding ports...
    default: 22 (guest) => 2222 (host) (adapter 1)
==> default: Booting VM...
==> default: Waiting for machine to boot. This may take a few minutes...
    default: SSH address: 127.0.0.1:2222
    default: SSH username: vagrant
    default: SSH auth method: private key
    default:
    default: Vagrant insecure key detected. Vagrant will automatically replace
    default: this with a newly generated keypair for better security.
    default:
    default: Inserting generated public key within guest...
    default: Removing insecure key from the guest if it's present...
    default: Key inserted! Disconnecting and reconnecting using new SSH key...
==> default: Machine booted and ready!
==> default: Checking for guest additions in VM...
    default: The guest additions on this VM do not match the installed version of
    default: VirtualBox! In most cases this is fine, but in rare cases it can
    default: prevent things such as shared folders from working properly. If you see
    default: shared folder errors, please make sure the guest additions within the
    default: virtual machine match the version of VirtualBox you have installed on
    default: your host and reload your VM.
    default:
    default: Guest Additions Version: 5.0.0
    default: VirtualBox Version: 6.1
==> default: Configuring and enabling network interfaces...
==> default: Mounting shared folders...
    default: /vagrant => /path/to/compile-nginx-from-source-example
sshでログインする
$ vagrant ssh
Welcome to your Vagrant-built virtual machine.
[vagrant@localhost ~]$
これで環境は構築できたので、この上でnginxをインストールしていきます。
nginxのインストール
wgetを使ってnginxのソースコードをダウンロードします。 nginxの公式サイトからダウンロードできます。
今回は現時点で最新である1.19.4を使用します。
[vagrant@localhost ~]$ cd /usr/local/src
[vagrant@localhost src]$ sudo wget https://nginx.org/download/nginx-1.19.4.tar.gz
[vagrant@localhost src]$ sudo tar xvzf nginx-1.19.4.tar.gz
次にconfigureというスクリプトファイルを実行させて、nginxのいろいろな設定やMakefile生成したりするのですが、 この段階でコンパイルフラグを使用し様々な設定やモジュールの有効化/無効化を行ったりすることができます。
今回はコンパイルオブションを指定せずにインストールしていくのですが、各種フラグについてはこちらを参考にしてください。
[vagrant@localhost src]$ cd nginx-1.19.4
[vagrant@localhost nginx-1.19.4]$ ./configure
checking for OS
 + Linux 3.10.0-229.el7.x86_64 x86_64
checking for C compiler ... found
 + using GNU C compiler
 + gcc version: 4.8.3 20140911 (Red Hat 4.8.3-9) (GCC)

・・・(省略)

Configuration summary
  + using system PCRE library
  + OpenSSL library is not used
  + using system zlib library

  nginx path prefix: "/usr/local/nginx"
  nginx binary file: "/usr/local/nginx/sbin/nginx"
  nginx modules path: "/usr/local/nginx/modules"
  nginx configuration prefix: "/usr/local/nginx/conf"
  nginx configuration file: "/usr/local/nginx/conf/nginx.conf"
  nginx pid file: "/usr/local/nginx/logs/nginx.pid"
  nginx error log file: "/usr/local/nginx/logs/error.log"
  nginx http access log file: "/usr/local/nginx/logs/access.log"
  nginx http client request body temporary files: "client_body_temp"
  nginx http proxy temporary files: "proxy_temp"
  nginx http fastcgi temporary files: "fastcgi_temp"
  nginx http uwsgi temporary files: "uwsgi_temp"
  nginx http scgi temporary files: "scgi_temp"
./configureの実行後、最後の方に各種設定情報が出力されます。
あとは、make&make installでコンパイルしてインストールしていきます。
[vagrant@localhost nginx-1.19.4]$ make
[vagrant@localhost nginx-1.19.4]$ sudo make install
これでインストールは完了です。
systemdにサービスを登録
Linuxの起動処理やシステム管理を行うsystemdの起動スクリプトを作成してsystemctl start nginxみたいな感じで起動できるようにします。
[vagrant@localhost ~]$ sudo vi /usr/lib/systemd/system/nginx.service
起動スクリプトを以下のように記述します。
[Unit]
Description=nginx - high performance web server
Documentation=http://nginx.org/en/docs/
After=network.target remote-fs.target nss-lookup.target

[Service]
Type=forking
PIDFile=/usr/local/nginx/logs/nginx.pid
ExecStartPre=/usr/local/nginx/sbin/nginx -t -c /usr/local/nginx/conf/nginx.conf
ExecStart=/usr/local/nginx/sbin/nginx -c /usr/local/nginx/conf/nginx.conf
ExecReload=/bin/kill -s HUP $MAINPID
ExecStop=/bin/kill -s QUIT $MAINPID
PrivateTmp=true

[Install]
WantedBy=multi-user.target
systemctlコマンドを使用してnginxを起動させます。
[vagrant@localhost ~]$ sudo systemctl start nginx
[vagrant@localhost ~]$ sudo systemctl enable nginx
ln -s '/usr/lib/systemd/system/nginx.service' '/etc/systemd/system/multi-user.target.wants/nginx.service'
[vagrant@localhost ~]$ sudo systemctl status nginx
nginx.service - nginx - high performance web server
   Loaded: loaded (/usr/lib/systemd/system/nginx.service; enabled)
   Active: active (running) since 日 2020-11-08 00:00:08 UTC; 4min 32s ago
     Docs: http://nginx.org/en/docs/
 Main PID: 2727 (nginx)
   CGroup: /system.slice/nginx.service
           ├─2727 nginx: master process /usr/local/nginx/sbin/nginx -c /usr/local/nginx/conf/nginx.conf
           └─2728 nginx: worker process

11月 08 00:00:08 localhost.localdomain nginx[2723]: nginx: the configuration file /usr/local/nginx/conf/nginx.conf syntax is ok
11月 08 00:00:08 localhost.localdomain nginx[2723]: nginx: configuration file /usr/local/nginx/conf/nginx.conf test is successful
11月 08 00:00:08 localhost.localdomain systemd[1]: Failed to read PID from file /usr/local/nginx/logs/nginx.pid: Invalid argument
11月 08 00:00:08 localhost.localdomain systemd[1]: Started nginx - high performance web server.
これでnginxを起動するところまでできました。 次はホスト側からアクセスできるようにします。
ホスト側からアクセスできるようにする
firewalldでhttpが許可されていないので、firewall-cmdコマンドを使用してhttpを許可
[vagrant@localhost ~]$ sudo firewall-cmd --add-service=http --permanent
success
[vagrant@localhost ~]$ sudo firewall-cmd --reload
success
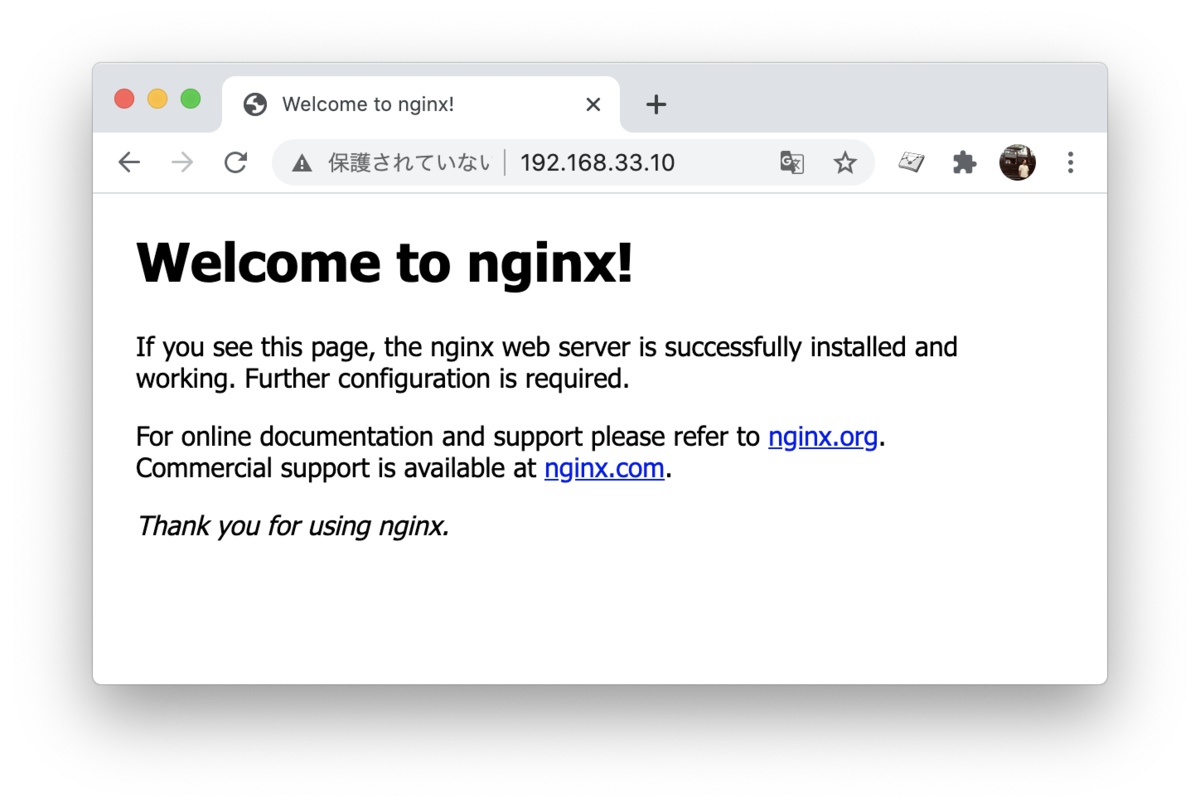
ホスト側から先ほどVagrantfileで設定した仮想マシンのIPアドレスにアクセスすると無事アクセスできました。
